Are you looking for an energy-efficient, inexpensive way to decrease cooling costs in your home? Have you ever thought about installing ceiling fans?
Unlike window air conditioning units, ceiling fans do not need to be reinstalled yearly. And they can save you lots of money on your electric bill. In fact, about 12% of American energy bills are air conditioning costs.
Installing the wrong fan, however, can lead to buyer's remorse. The purchase must be thought through ahead of time. Factors like ceiling fan size, placement, and style should all be considered.
How can you be sure you are installing a fan correctly?
Let's take a look.
1. Ceiling Fan Types
Different types of ceiling fans get used for different purposes. You may, for example, be considering a fan for your outdoor patio so it will be comfortable for reading, rocking, and chatting during the warmer months.
If you're hanging a ceiling fan in an area that could get wet, such as outdoors, you will need one that meets the Underwriter's Laboratories' wet/damp rating. These ratings ensure that products have been tested and rated for safety.
You can rest assured that ceiling fans rated for dampness will be able to withstand snow, rain, and fog without warping. A UL rating will also be necessary if you're purchasing a fan to use in a room where moisture accumulates, such as the bathroom.
Less expensive ceiling fans may get made from particleboard or fiberboard. Other fans may get made from hardwood.
Fans can be stained to showcase their natural grain, or they could get painted in any number of colors. The best fan for you will match your room's aura. If, for example, your home is a country-style, a wood finish will complement it beautifully.
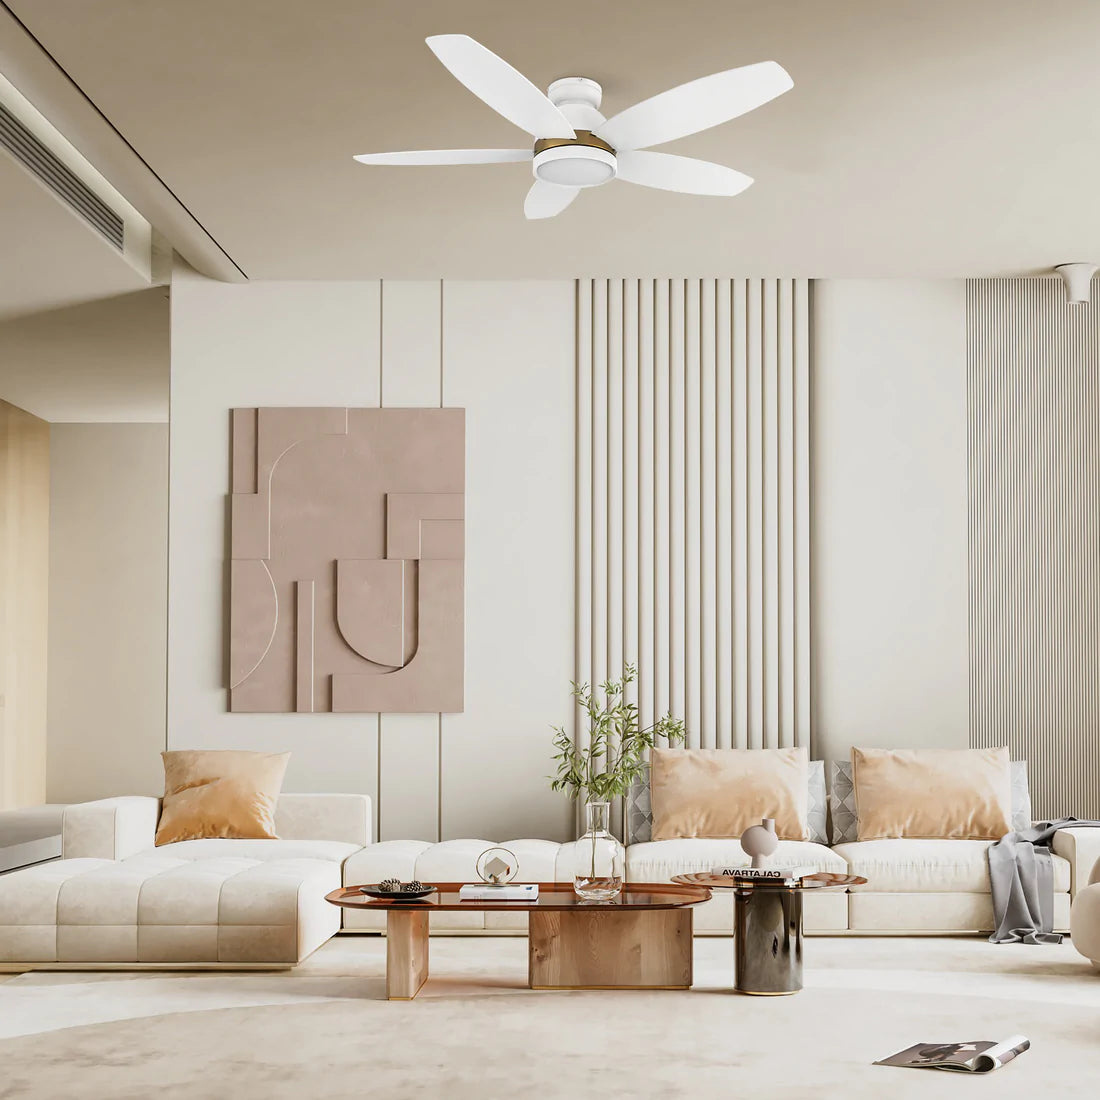
2. Ceiling Fan Size
The size of your ceiling fan will depend upon the size of your room. You won't, for example, want to get blown away by a fan too big for a smaller room. And you won't want to be stuck without enough breeze to fill a larger space.
If your room is under 75 square feet, for example, you should choose a ceiling fan that's less than 36 inches. If, however, you have a larger room 75 to 144 square feet, you should aim for a fan between 36 and 42 inches. Expansive rooms of 144 to 225 square feet should have ceiling fans between 44 and 50 inches.
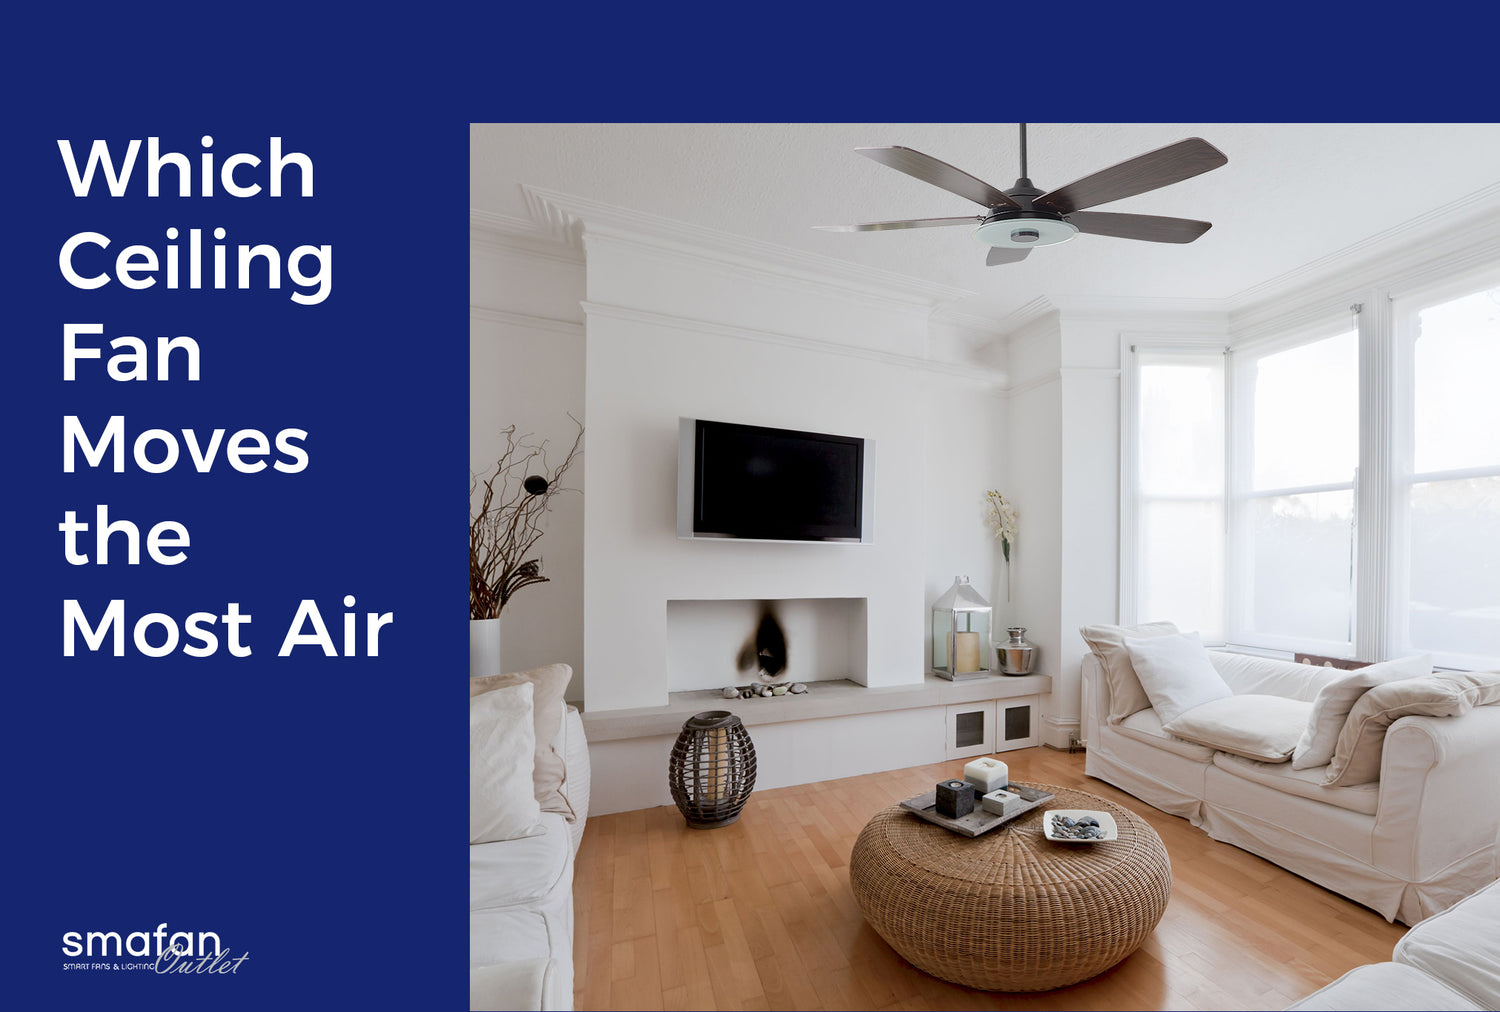
Your fan's airflow is also a factor you should consider. High airflow fans are great for outdoor spaces because they may have more humidity to control. They can also keep insects safely away from your living space.
3. Ceiling Fan Mounts
Your ceiling size will determine the kind of mount you will need for installation. If your fan is installed too close to the ceiling, it will be less effective as air will get trapped.
The base of a flush mount ceiling fan is flush against a ceiling, and the blades are just a few inches below it. They work well for rooms with low ceilings.
A down rod, by contrast, gets installed between the base of the fan and the hub of the ceiling blades. This works well for large rooms or those with high ceilings.
4. Installing an Electrical Fan
When installing your ceiling fan, start by turning off the main fuse and circuit breaker. If you have an existing fixture, disconnect the wires. You will need someone to hold the fixture up while you do this.
You will need to inspect the electrical box on the ceiling and make sure it's suitable for ceiling fans. There may be a fan weight rating or another indication on the inside surface. If you aren't sure the box can support a new fan, you may have to purchase a new one.
When installing the bracket, you will need to remove the screws and shipping blocks first. It gets secured according to the manufacturer's instructions.
If you have a fan with a down rod, you will need to thread the wires through the ring, canopy, and down rod first. If you're using a flush fan, attach the ring and canopy to the motor.
You can then hang your fan on the hook of the ceiling plate. Next, join the wires using wire connectors. The manufacturer's instructions can help you with this.
Tuck the wires into the electrical box and attach the canopy to the bracket.
To attach the ceiling fan blades, mount each bracket to each blade using the hardware provided. Tighten all of the screws in.
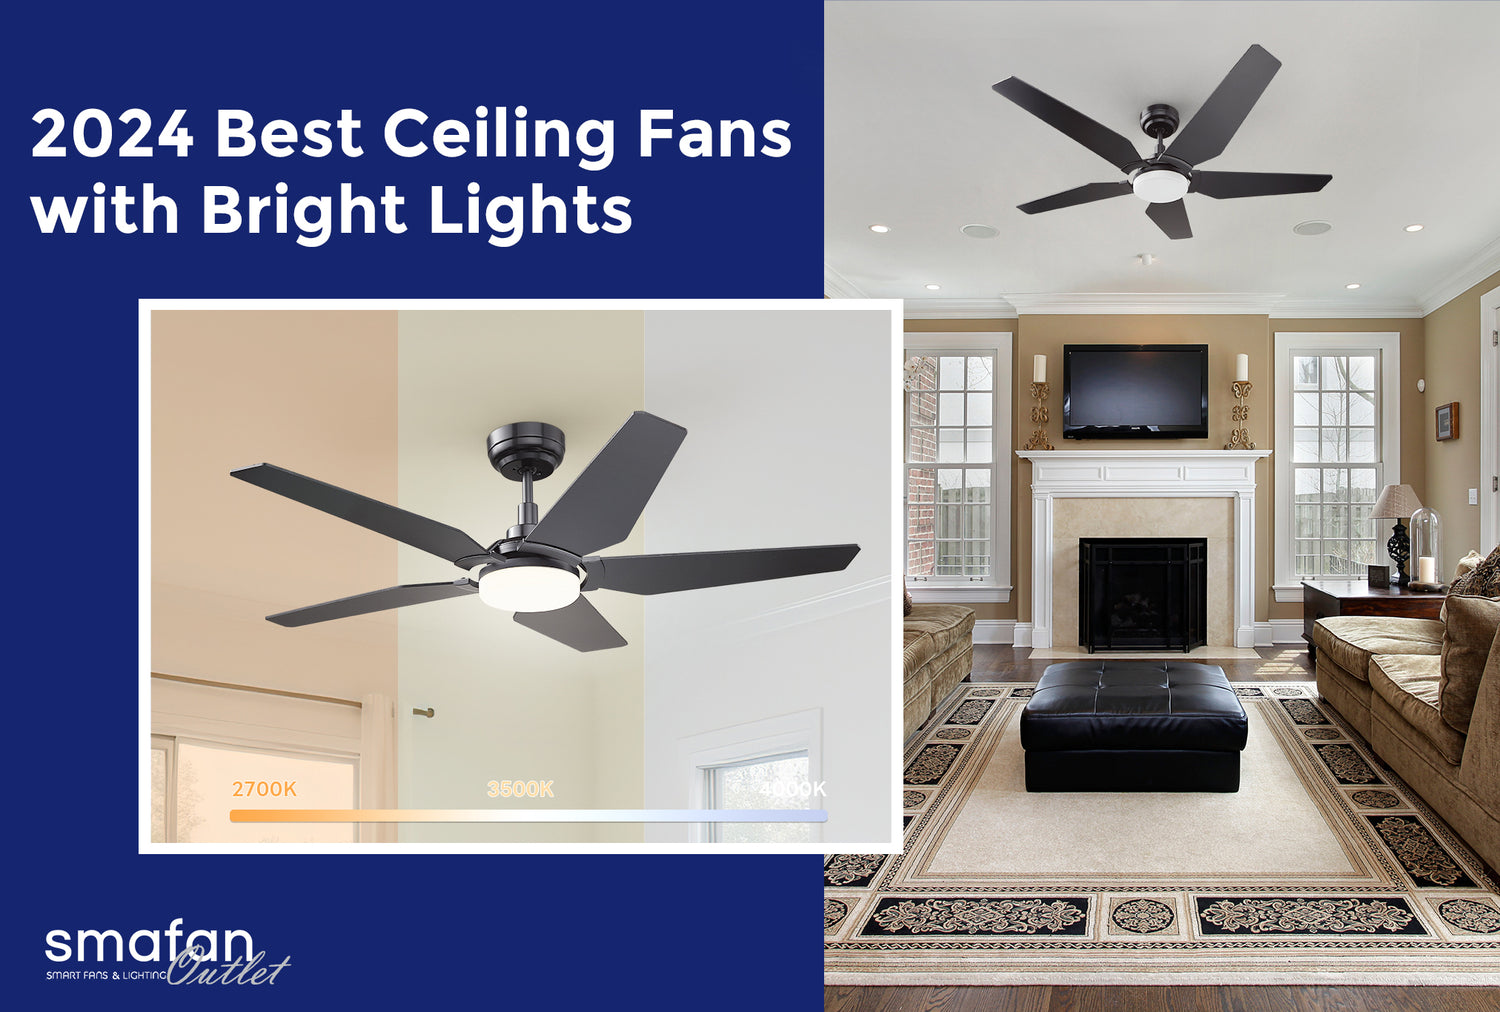
5. Ceiling Fan Lights
Ceiling fan light fixtures come in a variety of shapes and styles. If it's your primary source of light in a room, steer clear of standard 60-watt lightbulbs. Opt for high-output bulbs of 800 or above.
It's also wise to consider high-efficiency LED lights. These may cost you more money at first but can save you a lot in the long run. In fact, they can use up to 75% less energy, and last up to twenty-five times longer.
Many ceiling fans also come with remote controls that allow you to control the light and fan speed from anywhere in the room. You won't have to worry about getting up to find switches when you are just getting comfortable. And lately, some smart fans can even be controlled through your Smartphone!
Breezin' Through
Selecting the right ceiling fan, with the correct style and ceiling fan size is critical to being happy with your purchase. With careful installation and the right features, it will be keeping you cool for years to come.
For more information on quality ceiling fan products, please contact us today.